
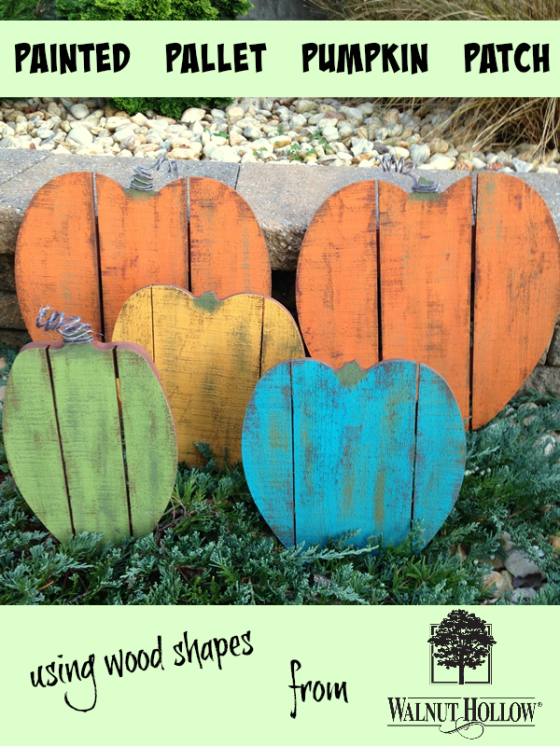
Do you love the wood pallet pumpkins you’ve been seeing all over Pinterest? Me too! Walnut Hollow has new pallet wood pumpkin shapes this year! No more cutting your own pallets up and getting frustrated when yours (mine) don’t turn out like the ones on Pinterest. Now you too can have gorgeous, painted pallet wood pumpkins!
I love decorating outside for Fall. I like to use a lot of real pumpkins and place them in our various garden beds and front entrance. However, this gets expensive. (And real pumpkins can get messy too, when they begin rotting. Just keeping it real here!)
I am so thrilled that Walnut Hollow created these new pallet wood pumpkin shapes this year! As soon as I saw them, I knew instantly that I wanted to create my own pumpkin patch that I can use year after year!
Here’s how I made mine . . .
Supplies used:
- Wood Pallet Short Pumpkin, Large size (2) – Walnut Hollow
- Wood Pallet Short Pumpkin, Small size (2) – Walnut Hollow
- Wood Pallet Tall Pumpkin, Small size (1) – Walnut Hollow
- Americana Decor Chalky Finish Paints – DecoArt
(colors used: Heritage, Inheritance, New Life, Treasure, Rustic, Enchanted) - Americana Decor Soft-Touch Varnish – DecoArt
- Paint brush
- Small paint brush
- Paper towels
- Wax paper
- Burlap floral wire
- Scissors
- Lip balm (yes, you’ll see why!)
Painted Pallet Pumpkin Patch Tutorial
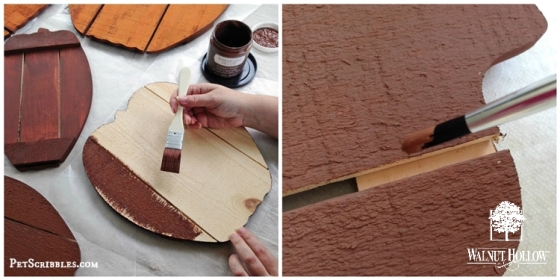
Step One: Paint each of the pumpkins with a coat of Americana Decor Chalky Finish Paint in Rustic. I always paint the back of my projects to give them more of a finished look. Use a small paint brush to get into the crevices and to paint the edges.
Step Two: Dry brush your second color over the brown (Rustic) color on each pumpkin. Load a small amount of paint onto the edge of your paint brush. Wipe most of the paint off — I use paper towels for this — leaving very little paint on the brush.
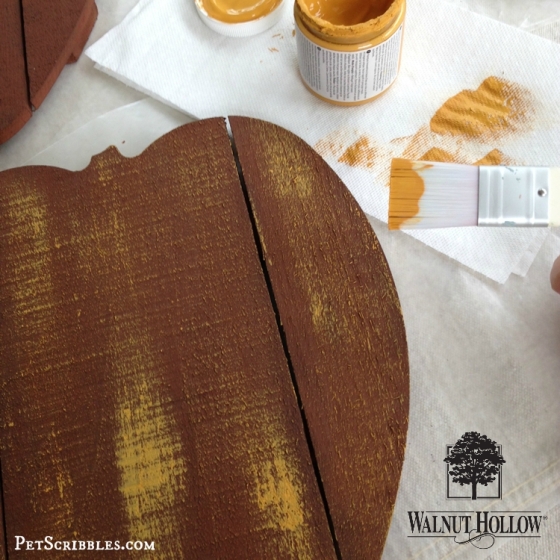
If this is your first time using the dry brush technique, practice on a paper towel first to get the hang of it. You need to lightly move your brush across the wood surface, holding the brush at an angle as you work.
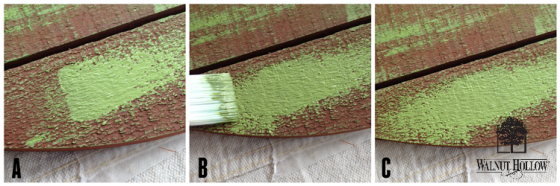
I like to build up color gradually, as it’s much easier to control the look you want. My first pass (A) has just the lightest amount of chalky finish paint on the pumpkin. On the second pass (B), I begin adding more color. The third image below (C) shows you my finished pumpkin.
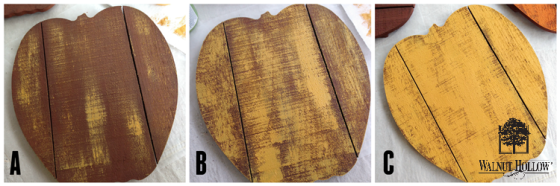
Here’s how to make sure your paint strokes look natural when you’re dry-brushing paint:
- A) Apply the paint onto your surface and pull the paint along with the brush.
- B) Take your brush and pull the paint in the opposite direction from the “blunt end” of where the paint began.
- C) Doing this gives you a more natural, weathered look.
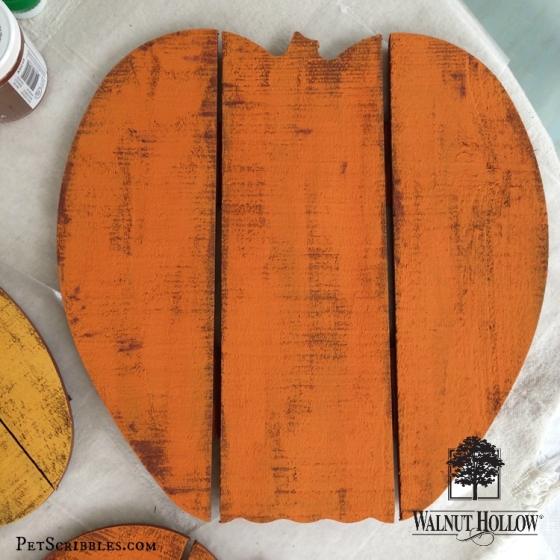
Step Three: Repeat the above steps with DecoArt Chalky Finish colors of your choosing. I used Heritage chalky finish (orange) on the large pumpkins; Inheritance (mustard yellow) and Treasure (teal) on the small pumpkins; and New Life (light green) on the skinny pumpkin.
Here’s one of the large pumpkin shapes painted in the Heritage color:
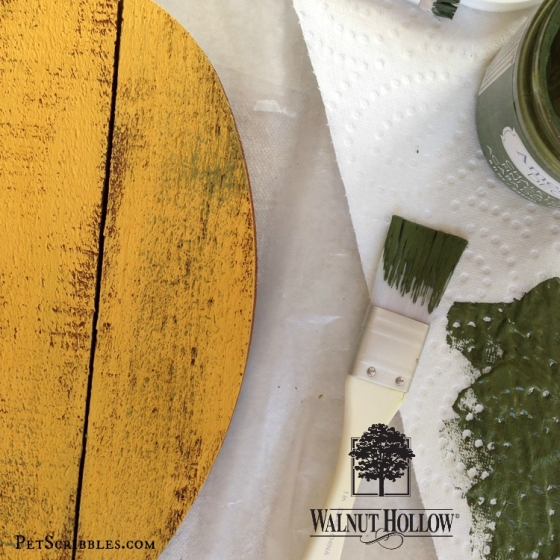
Step Four: Paint the stem on each wood pallet pumpkin using DecoArt Chalky Finish paint in Enchanted (darker green) with a small paint brush. After I painted the initial stem (below right), I extended the stem to the left and right a bit more. There’s no right or wrong way, just do what looks good to you.

Step Five: Using the dry brush technique, apply just a hint of dark green paint to each pumpkin in random places. Just a hint. I used the same chalky finish paint (Enchanted) that I used for the stems.
Step Six: Apply a coat of Americana Decor Soft-Touch Varnish to both sides and edges of each pumpkin. Let dry. This varnish provides a protective finish to protect the painted pumpkins – especially outdoors – and has just a hint of pretty sheen too.
Step Seven: Make a decorative stem for your pumpkins by twisting burlap floral wire around a lip balm tube. (See, I told you there was a reason “lip balm” was in the supply list!)
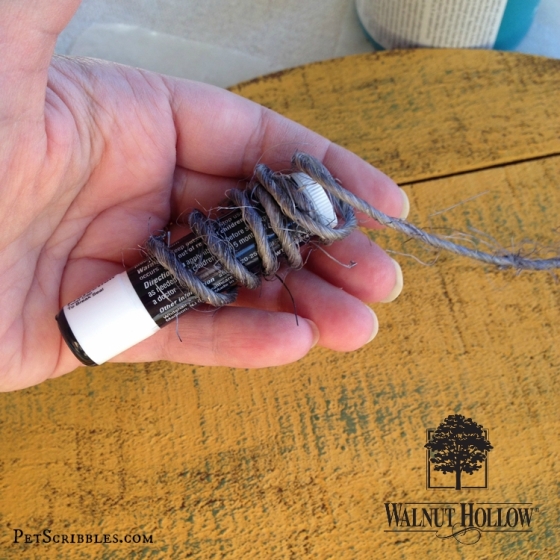
Keep one end of the floral wire free to wrap around the wood pumpkin stem a few times. You could also use green or brown wire for this step, or grunge up some wire to give it a rusty effect. Or don’t use any wire at all!
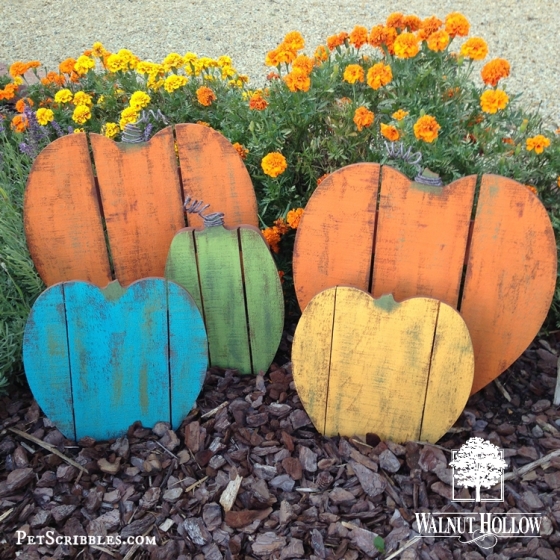
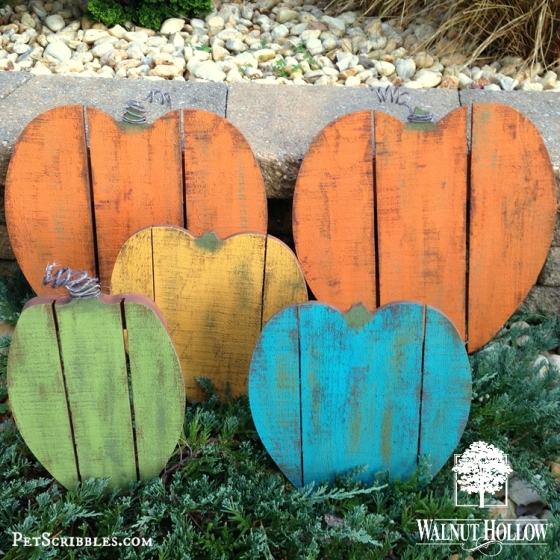
And now you have your very own Painted Pallet Wood Pumpkin Patch!
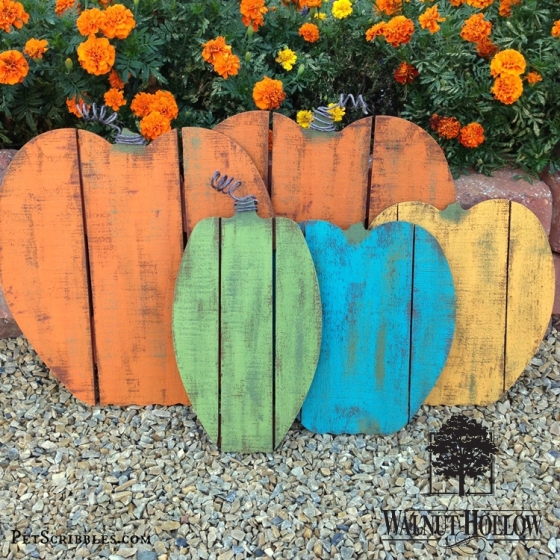
There are so many ways you can decorate with these pumpkins both indoors and out. Use just one or two, or create a fun grouping like I’ve done here!
I love my outdoor pumpkin patch and will keep this outside as part of our Fall decor through the Thanksgiving holiday!
Want more Fall and Halloween inspiration using Walnut Hollow products? Make sure to follow our Walnut Hollow Facebook page!

Stock up on essentials to make projects like this and more during our 50% off sale at WalnutHollow.com. Click the banner above to shop now.
Want to share your own project you’ve made with our Walnut Hollow products? Click the “Submit Your Project” button on the right-hand side of this page, or simply click here for a chance to be featured on our blog and social media. Make sure to post your projects to our Facebook page too. We love to see what you’re creating!

I’m Laura, the creative mind behind Pet Scribbles, my blog where I share craft tutorials, home and garden projects, and occasional cat stories. I can never have enough pretty craft paints to work with, and I love to make things look time-worn with distressing and aging – especially wood projects both large and small. Stop by!

Pingback: Rustic Painted Wood Pallet Pumpkins!
Laura! I LOVE these! I want some for my house!!!
Oh I love this project!!! This would make for great decor in front of my house!
Love these, definitely a more affordable option than real pumpkins!
These are so cute and I love the colors you chose. They are perfect for Hallowen and Thanksgiving.
These are so cute!
SO pretty! I’m going to share with my mom b/c she needs to make these for her front porch.
We love them too! Please share.
Luv! How do they stand?
Hi Carol! You can either lean them up against something, or attach garden stakes to put them into the ground.
Pingback: 49 Incredible DIY Pumpkins You've Got to Try This YearUpdates News | Updates News
Pingback: 49 Incredible DIY Pumpkins You've Got to Try This Year - Democratsnewz
Pingback: 49 Incredible DIY Pumpkins You’ve Got to Try This Year | Jody Minns's Notes
I really like your pumpkins! Question thou, what did you use the wax paper for?
I use wax paper when I’m painting because it won’t stick to my wet paint projects like paper or canvas would. This way, if my paint is almost dry I can turn my project over and begin painting on the other side.
Pingback: 18 Awesome Repurposed DIY Projects For Your Home • DIY Home Decor
These are so cute!
Pingback: 20 Cute DIY Rustic Wood Pumpkins You’ll Love Making – My Blog
Pingback: 25 Creative DIY Pumpkin Decor Ideas