
We are so excited to be a part of the 5th Annual Handmade Holidays Blog Hop! This years’ blog hop has over 80 handmade gift ideas featuring products from your favorite craft manufacturers. We hope this 3 day hop inspires you to create and give handmade this holiday season and beyond. Check out the projects from our Influencers all weekend and then scroll to the end of each post to find the list to continue on the hop. Today we are kicking things off with a gorgeous project from Morena Hockley:

I love to make personalized gifts for my loved ones, and with the holidays fast approaching the time to get started is now! I have several tween/teen nieces and, if they’re anything like I was, they need a space to keep their jewelry and makeup organized. Instead of boring plastic containers, why not put their accessories on display in a beautiful embellished pallet organizer? This long, rustic pallet tray from Walnut Hollow is the perfect base for creating a gorgeous jewelry organizer. Since you’re making it yourself you can change the pattern and color as desired!

Supplies:
- Rustic Pallet Tray
- DecoArt Media Texture Sand Paste
- Stencil
- Palette Knife
- Chalky Finish Paint
- Glaze
- Hook

Step one: Place the stencil on the rustic pallet tray. Use the palette knife to smooth Texture Sand Paste over the stencil. Repeat until the pallet has the desired design, and let the paste dry.

Step two: Paint the entire pallet with Americana Chalky Finish Paint. I used a color called “Serene”, which is a lovely vintage blue color. Let the paint dry completely.
Note: I like to use Americana’s Chalky Finish Paint on Walnut Hollow products because it provides complete coverage, often in one coat, with no prep work. You can sand and prime your wood surface if you wanter a smoother finish, but I love the rustic finish so I just paint it!
Step three: Use a sponge to dab blue-green glaze onto the stenciled surface. I also dragged the sponge across the edges to add some color variation.
Step four: Add a varnish to seal the surface.
Step five: Attach the hook to the pallet with a screw.
Step six: Attach saw tooth hangers to the back of the pallet so you can hang it on the wall.

You can add more knobs or hooks if you want to hang more jewelry to the piece. It would be cute to add chicken wire or mesh to the back and create a section for hanging earrings. I love the subtle pattern created by the texture paste and the glaze on the back. My gift recipients can fill up the various “shelves” with accessories or other decor. Hopefully they’ll enjoy it as much as I enjoy making gifts for them! Have fun crafting and creating with Walnut Hollow wood products!


Italian born and bred, Morena is the kind of girl who would rather have paint on her fingers than have a manicure. The daughter of two DIYers, she and her husband strive to pass the tradition and value of handmade to their four children. Morena’s passion is using thrifted and inexpensive finds to craft designer inspired creations, and she excels in creating colorful, bold pieces. She is on several design teams, but the best place to find her is at her blog, Morena’s Corner.
Continue on the hop by clicking the next link in the list below – click the blue button to be taken to the link list.
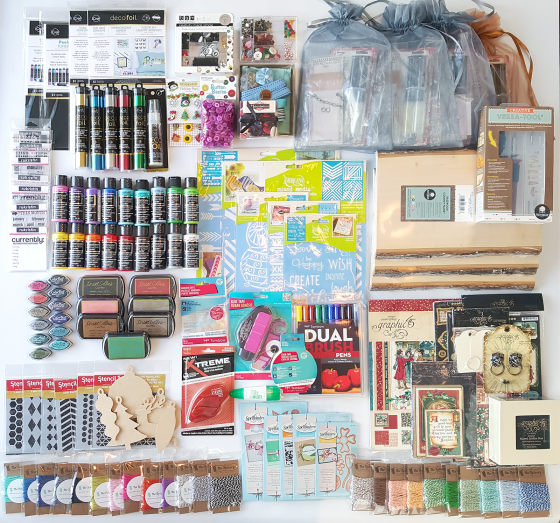
Be sure to visit all of the blogs so you can enter our amazing giveaway of over $600 in craft supplies from all the sponsors.


Enter the giveaway by clicking the link below:

Cute shelf!
Really cute design! Thanks!
This is fantastic so you can use the little shelf anywhere
Wonderful project! Thank you for your tutorial.
How very cute. That is a wonderful color. I think the choice of hardware makes a big difference in the feel of a project. Vintage hooks are my favorite.
Muy bonito y práctico, gracias por el tutorial.
What a great idea! Love this decorative storage shelf.
This is quite charming, and again, I think I can do this!!
Very sweet shelf.
FABULOUS makeover!!!
Such a PRETTY and PRACTICAL gift – LOVE IT!!!
THANK YOU for sharing 🙂
Скромненько, но со вкусом!
Modestly but with taste !
Pingback: DIY Dragonfly Mobile – Handmade Holidays 2015 Blog Hop Day 2 | walnuthollowcrafts
Fun idea, plus useful!
Cute project ! Thanks for sharing and the opportunity to win such an awesome prize !
Love it! This would be a perfect accent with my seashells! Tfs
such a cute idea! 🙂
absolutely love this idea
this is so fun! and who doesn’t need an extra shelf or two to stash little things? thanks for sharing!
wonderful cute project.
Love the project!
I love this idea. I see so many uses for the rustic pallet. I love making Christmas gifts, so this pallet would be perfect! Thank you for sharing this great idea:)
Cute shelf. I like the subtle texture.
This is a terrific gift idea! Very pretty, and definitely perfect for the girls on my list.
Such a nice gift idea. The subtle pattern in the back is perfect!
Love the rustic feel on this cute shelf! Thanks for sharing!
great ideas
This is a lovely project. I love that textured diamond effect. Might be nice for my daughter, I think I’ll give it a go.
TOTALLY AWESOME!!!! My niece would love this for her jewelry!! TFS!
Fabulous gift idea!
Love how you used the texture paste for the subtle pattern. Looks fab!!
❤ J
jwoolbright at gmail dot com
HerPeacefulGarden.blogspot.com
great gift idea
Amazing creation! Thank you for this amazing giveaway!!!!
Super project…….beautiful color….Thanks …
Pingback: DIY Pallet Jewelry Organizer - Morena's Corner
Pingback: Wooden Feather Sign Wall Decor | walnuthollowcrafts
Pingback: BLESSED Farmhouse Style Wood Pallet Sign | walnuthollowcrafts
Pingback: Rustic Bark Edge Shadow Box Earring Organizer | walnuthollowcrafts